In 2025: How to Download Dymo Printer 450 Driver?
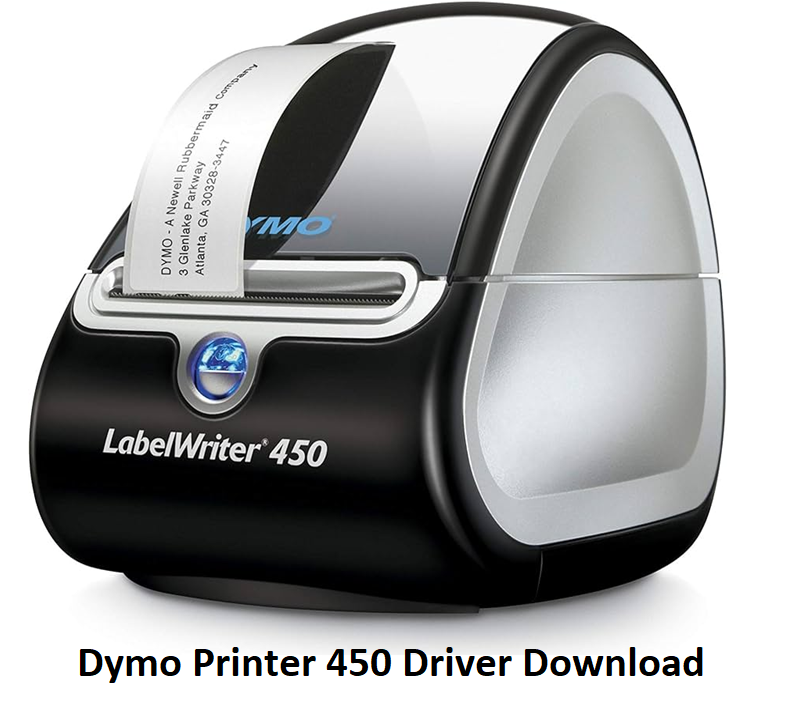
Dymo-Printer-450-Driver
My Geek Score: Dymo Printer 450 is one of the most popular label printers on the market, widely used for printing labels, barcodes, and tags. However, in order to get the most out of your Dymo Printer 450, you need to ensure that the proper drivers are installed on your computer. These drivers facilitate smooth communication between your printer and the operating system. Without the correct driver, your Dymo printer may not function properly or even be recognized by your computer.
This comprehensive guide will walk you through the process of downloading the Dymo Printer 450 driver, as well as the steps to properly set up your printer. Whether you are using Windows or macOS, we will cover the entire Dymo printer setup process in detail. So, if you’ve recently purchased a Dymo Printer 450 or are experiencing issues with your current installation, keep reading to learn how to download and install the correct driver for your device.
Why Do You Need the Dymo Printer Driver?
Before we dive into the specifics of downloading the driver, it’s important to understand why this is a critical part of setting up your Dymo Printer 450. The Dymo Printer 450 uses a unique set of commands and protocols to print labels. These commands are not automatically understood by your operating system, whether you are using Windows or macOS. The Dymo printer driver acts as a translator, ensuring that your computer sends the correct data to the printer and that the printer can interpret and print it as expected.
Without the driver, your Dymo Printer 450 won’t be able to communicate with your computer. It is also worth noting that the printer driver includes important settings and configuration options that allow you to customize the printer’s behavior, such as the paper size, print quality, and more. Installing the correct driver ensures that your Dymo Printer 450 works seamlessly, giving you the best results for your labeling needs.
Step 1: Visit the Official Dymo Website
The first step in downloading the Dymo Printer 450 driver is visiting the official Dymo website. The official website offers the latest drivers that are specifically designed for your printer model. It is always advisable to download the driver from the manufacturer’s website rather than third-party sites, as this guarantees the authenticity and safety of the file.
Here’s how to get started:
- Open your web browser (Google Chrome, Firefox, Safari, etc.).
- Go to the Dymo website by typing “Dymo” into the search bar or directly visiting their site (ensure you are going to the official Dymo page).
- Look for the “Support” or “Downloads” section. This section typically contains all the drivers and software needed for your printer.
- Select the “Downloads” link for easy access to the driver files.
Once on the Dymo downloads page, you will see a list of printer models. Since you are looking for the Dymo Printer 450 driver, search for the appropriate printer model. Dymo offers different versions, such as the Dymo LabelWriter 450, Dymo LabelWriter 450 Turbo, and others, so make sure to select the exact model of your printer.
Step 2: Select the Correct Operating System
When you select your printer model on the Dymo downloads page, you will be prompted to choose your operating system. Dymo offers drivers for both Windows and macOS. Make sure to choose the correct version based on your computer’s operating system.
For Windows Users:
- Dymo Printer drivers are compatible with Windows versions such as Windows 10, Windows 8, Windows 7, and even older versions like Windows Vista and XP (though these are less commonly used).
- Select the appropriate Windows version for your system. If you’re not sure which version you have, you can easily check by going to the system settings and selecting “About” or “System Info.”
- Click the download link for the Windows version you selected.
For Mac Users:
- If you’re using a Mac, make sure to choose the driver version compatible with macOS. Dymo’s drivers are usually compatible with macOS versions like macOS 10.10 and higher.
- Select the version of macOS that matches the one running on your Mac.
Once you’ve selected the correct operating system, click the “Download” button to begin the download process.
Step 3: Install the Dymo Printer 450 Driver
After the driver file is downloaded, the next step is to install it on your computer. Follow the installation instructions carefully, as improper installation may lead to issues with your printer setup. Here are the installation steps for both Windows and macOS:
Installing the Driver on Windows:
- Locate the downloaded driver file, usually in your “Downloads” folder.
- Double-click the file to begin the installation process. Windows may prompt you to allow the file to make changes to your system. Click “Yes” to proceed.
- Follow the on-screen instructions to install the driver. During this process, you may be asked to agree to the terms and conditions of the software license agreement.
- Once the installation is complete, you will be prompted to restart your computer. It is recommended to restart your computer to ensure that the installation is fully applied.
- After the restart, the Dymo Printer 450 driver should be installed, and your printer will be ready for use.
Installing the Driver on macOS:
- Open the “Downloads” folder on your Mac and locate the downloaded driver file.
- Double-click on the file to open the installer package. macOS will ask if you want to allow the installer to make changes to your system. Click “Allow” to proceed.
- Follow the on-screen instructions to install the driver.
- Once the installation is complete, you will need to restart your Mac to finalize the setup process.
- After restarting, the Dymo Printer 450 driver will be installed, and you can begin using your printer.
Step 4: Connect Your Dymo Printer 450 to Your Computer
Once the driver is successfully installed on your computer, the next step is to connect your Dymo Printer 450. Ensure that you have the proper cables or wireless setup, depending on your printer model and how you wish to connect it.
For USB Connection:
- Plug the USB cable into your Dymo Printer 450 and connect it to an available USB port on your computer.
- The printer should automatically be detected by the computer once connected, and the necessary drivers will be applied.
- If this is the first time connecting the printer, Windows or macOS may install additional drivers or updates to ensure compatibility.
For Wireless Connection (If Applicable):
If your Dymo Printer 450 supports wireless connection (e.g., through Wi-Fi or Bluetooth), you will need to follow the specific instructions in your printer’s manual to connect it to your network. Once connected, the printer should appear as a selectable option in the printer settings of your computer.
Step 5: Verify Printer Setup
After the Dymo Printer 450 driver is installed and the printer is connected to your computer, it’s time to verify that everything is working correctly. Follow these steps to confirm that the printer is set up properly:
For Windows Users:
- Open the “Control Panel” on your Windows computer.
- Go to “Devices and Printers” or “Printers & Scanners.”
- Find your Dymo Printer 450 in the list of printers.
- Right-click the printer and select “Print Test Page” to ensure that the printer is functioning correctly.
For macOS Users:
- Go to “System Preferences” and select “Printers & Scanners.”
- Find your Dymo Printer 450 in the list of available printers.
- Select the printer and click “Open Print Queue.”
- From the print queue window, select “Print Test Page” to check the printer’s functionality.
If the test page prints successfully, congratulations! Your Dymo Printer 450 is properly set up and ready to use. If there are any issues, double-check the connections and ensure that the correct printer driver is installed.
Step 6: Customize Your Printer Settings
The Dymo Printer 450 comes with several customizable options that you can adjust to suit your needs. These settings include paper size, print speed, print quality, and more. You can access these settings through the printer properties menu on both Windows and macOS.
Windows Printer Settings:
- Go to “Devices and Printers” in the Control Panel.
- Right-click on your Dymo Printer 450 and select “Printer Properties.”
- From here, you can customize the printer settings, including paper size, print quality, and more.
macOS Printer Settings:
- Go to “System Preferences” and select “Printers & Scanners.”
- Select your Dymo Printer 450 and click “Options & Supplies.”
- Here, you can adjust various settings for your printer, including default paper size and print quality.
Conclusion
Properly downloading and installing the Dymo Printer 450 driver is essential for getting the most out of your printer. With the right driver in place, you can enjoy seamless printing of labels, barcodes, and tags with minimal hassle. The steps outlined in this guide will ensure that you are able to perform a successful Dymo printer setup, whether you are using a Windows or macOS computer.