How to Set Up Dymo Printer: A Complete Guide

dymo-printer-setup
My Geek Score: Dymo printers are compact, efficient, and versatile devices that have revolutionized the way labels are created and printed. Whether you are a small business owner, an office professional, or someone looking to organize their home, a Dymo printer set up can help simplify labeling tasks. In this guide, we’ll walk you through the step-by-step process of setting up your Dymo printer. Additionally, we will explore what a Dymo printer is, its uses, advantages, and disadvantages to give you a complete understanding of this device.
What is a Dymo Printer?
A Dymo printer is a specialized device designed for printing labels, barcodes, name tags, and more. Unlike traditional printers, which print on paper, Dymo printers use thermal printing technology to produce high-quality labels without the need for ink or toner. They are compact and user-friendly, making them an excellent choice for personal and professional labeling needs.
Uses of a Dymo Printer
Dymo printers are versatile and can be used in various settings, including:
- Office Use: Printing address labels, file folder labels, and shipping labels.
- Retail and Inventory Management: Creating barcode labels, product tags, and price stickers.
- Home Organization: Labeling storage containers, kitchen jars, and personal items.
- Events and Conferences: Printing name badges and event passes.
- Healthcare: Creating patient identification labels, prescription labels, and medical file tags.
Advantages of a Dymo Printer
- Cost-Efficient: Since Dymo printers use thermal printing technology, there is no need to purchase ink or toner.
- Compact Design: These printers are lightweight and take up minimal space.
- High-Quality Output: Dymo printers produce crisp and clear labels, making them ideal for professional use.
- User-Friendly: Most Dymo printers come with easy-to-use software that simplifies label design and printing.
- Customizable Options: You can create labels in various sizes, styles, and fonts to suit your needs.
Disadvantages of a Dymo Printer
- Limited Printing Capabilities: Dymo printers are designed specifically for labels and cannot be used for general document printing.
- Higher Initial Cost: While the long-term costs are lower, the upfront cost of a Dymo printer may be higher compared to traditional printers.
- Dependence on Dymo Label Rolls: You must use Dymo’s proprietary label rolls, which can be expensive.
- Thermal Printing Limitations: Labels may fade over time when exposed to heat or sunlight.
How to Set Up a Dymo Printer?
Setting up a Dymo printer is a straightforward process. Follow these steps to get started:
Step 1: Unbox Your Dymo Printer
- Open the box and remove the Dymo printer, power adapter, USB cable, and any included label rolls.
- Check the manual and ensure all components are present.
Step 2: Connect the Printer to Power
- Plug the power adapter into the printer and connect it to a power outlet.
- Turn on the printer using the power button.
Step 3: Install the Label Roll
- Open the label compartment on your Dymo printer.
- Insert the label roll and ensure the labels feed correctly through the printer’s guide.
- Close the compartment securely.
Step 4: Install the Dymo Software
- Visit the official Dymo website and download the appropriate software for your printer model.
- Install the software on your computer by following the on-screen instructions.
- During installation, select your printer model to ensure compatibility.
Step 5: Connect the Printer to Your Computer
- Use the USB cable to connect your Dymo printer to your computer.
- Wait for your computer to recognize the device and complete the driver installation.
Step 6: Configure the Printer Settings
- Open the Dymo software and navigate to the settings menu.
- Select your printer model and adjust settings such as label size, print quality, and orientation.
Step 7: Test the Printer
- Create a sample label using the Dymo software.
- Click “Print” to test if the printer is working correctly.
- Inspect the printed label for quality and accuracy.
Step 8: Start Printing
Once you’ve successfully set up your Dymo printer, you can begin creating and printing labels for your specific needs.
Troubleshooting Common Issues
Here are some common problems you might encounter and how to resolve them:
- Printer Not Recognized by Computer:
- Ensure the USB cable is securely connected.
- Reinstall the printer driver.
- Restart your computer and the printer.
- Poor Print Quality:
- Clean the printer’s print head using a soft, lint-free cloth.
- Ensure the label roll is properly installed.
- Labels Not Feeding Correctly:
- Check for obstructions in the label path.
- Ensure the label roll is compatible with your printer model.
The Price of Dymo Printer
Dymo printers in the United States are available at various price points, depending on the model and features. Here are some examples:
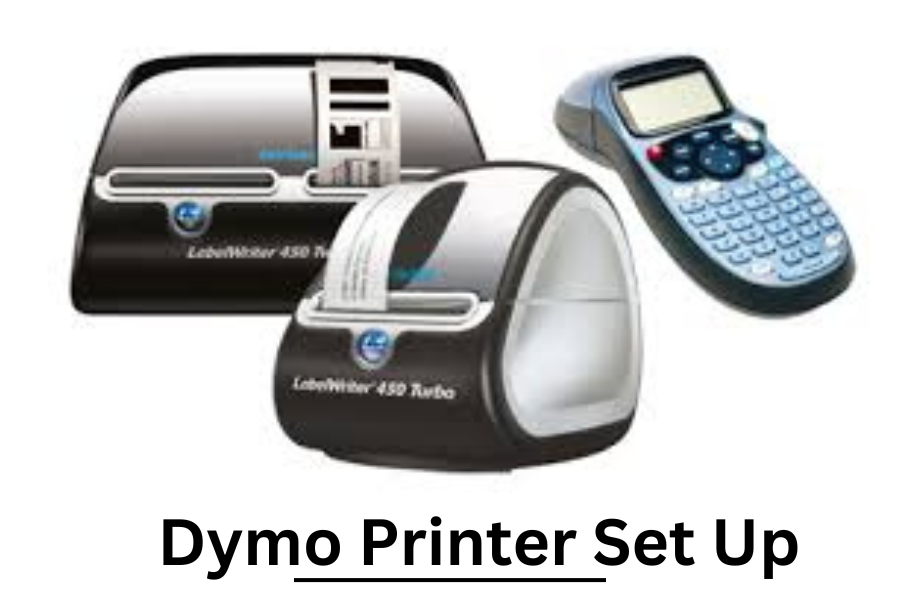
- DYMO LabelWriter 450 Direct Thermal Label Printer: This model is priced at approximately $193.44.
- DYMO LabelWriter 550 Turbo Label Printer: Available for around $139.99.
- DYMO LetraTag 100H Handheld Label Maker: Priced at $24.97.
Please note that prices may vary based on the retailer, location, and any ongoing promotions or discounts. For the most accurate and up-to-date pricing, it’s advisable to check with official retailers or the DYMO website.
Conclusion
A Dymo printer is an excellent investment for anyone who values efficiency and organization. By following the setup steps outlined in this guide, you can start using your Dymo printer in no time. While the device has its limitations, its numerous advantages make it a valuable tool for both personal and professional use. With proper maintenance and the right settings, your Dymo printer will deliver high-quality labels for years to come


