How Do I Install Dragon NaturallySpeaking?
Install Dragon NaturallySpeaking
Dragon NaturallySpeaking stands as one of the most revolutionary speech recognition software in today’s digital era. This sophisticated tool allows users to effortlessly transcribe their spoken words into written text, boosting productivity and accessibility across various industries. However, to fully leverage its capabilities, installing Dragon NaturallySpeaking correctly is paramount.
System Requirements
Before installing Dragon NaturallySpeaking, it’s essential to ensure that your computer meets the minimum system requirements. This will help prevent any compatibility issues and ensure optimal performance. Here are the basic system requirements for install Dragon NaturallySpeaking:
- Operating System: Dragon NaturallySpeaking is compatible with Windows 7, 8.1, and 10.
- Processor: A minimum 2.2 GHz Intel dual-core or equivalent AMD processor is recommended.
- RAM: At least 4 GB of RAM is required, but 8 GB or more is recommended for optimal performance.
- Storage: You’ll need at least 8 GB of free hard disk space for installation.
- Internet Connection: A stable internet connection is required for product activation and certain features.
Pre-Installation Steps
To pave the way for a smooth installation experience, several preparatory measures are advised. Firstly, check compatibility with existing software and hardware to preempt any potential conflicts. Temporarily disable antivirus software during the installation process to prevent interference. Moreover, it’s prudent to backup important files and data to safeguard against unforeseen complications.
Step-by-Step Installation Guide
Now that you’ve confirmed your computer meets the system requirements, let’s proceed with the installation process:
- Purchase Dragon NaturallySpeaking
If you haven’t already done so, you’ll need to purchase a copy of Dragon NaturallySpeaking from the official website or authorized retailers. Ensure you’re selecting the version that best suits your needs, whether it’s the Home, Professional, or Legal edition.
- Download the Installation File
Download the installation file from the official website after you’ve bought Dragon NaturallySpeaking. Ensure that it is saved to a spot on your computer that you can quickly access.
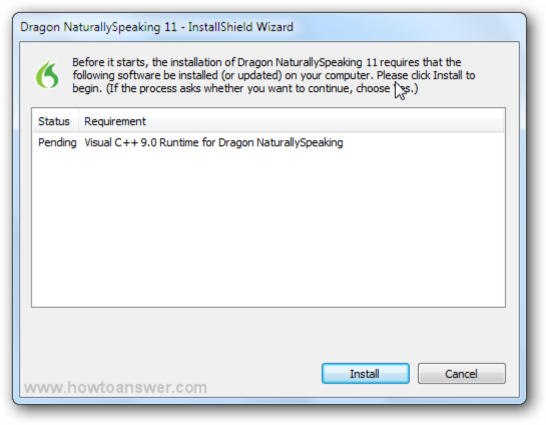
- Run the Installation Wizard
Double-clicking the installation file that you downloaded will launch the installation wizard. To start the installation procedure, adhere to the prompts displayed on screen.
- Accept the License Agreement
Read through the license agreement carefully, and if you agree to the terms, select “I accept the terms in the license agreement” and click “Next” to continue.
- Choose Installation Options
You will be asked to select your installation options, including the destination folder and extra components, during the installation process. After making any required selections, click “Next” to continue.
- Enter Your Serial Number
When prompted, enter the serial number provided with your purchase of Dragon NaturallySpeaking. This will authenticate your copy of the software and allow you to proceed with the installation.
- Complete the Installation
After inputting your serial number, press “Install” to initiate the installation procedure. This could take a few minutes, depending on the specs of your computer. To close the wizard after the installation is finished, select “Finish”. If you are still facing any issues Contact Dragon NaturallySpeaking Support for assist.
Conclusion
Congratulations! You’ve successfully installed Dragon NaturallySpeaking on your computer. Now it’s time to explore the endless possibilities this powerful software has to offer. Whether you’re dictating documents, sending emails, or navigating the web hands-free, Dragon NaturallySpeaking is sure to enhance your productivity and streamline your workflow.